How to Install LVT Flooring: A Step-by-Step Guide for Homeowners
Installing LVT flooring can be an excellent way to enhance the aesthetic appeal and functionality of your home. Known for its durability and versatility, LVT (luxury vinyl tile) is increasingly popular among homeowners looking for an affordable yet stylish flooring option. Whether you’re renovating a space or building a new home, understanding the steps involved in LVT flooring installation is crucial to achieving a professional finish.
In this guide, we will walk you through the entire process of LVT flooring installation, breaking it down into manageable steps. From preparing your subfloor to the final touches, each phase is vital to ensure that your new flooring not only looks exquisite but also stands the test of time. With the right tools, materials, and techniques, you can transform any room in your home, making it a more inviting and comfortable environment.
Whether you're a seasoned DIY enthusiast or a first-time installer, our step-by-step approach will help you navigate the installation process with confidence. Join us as we explore the essential tips and tricks needed to make your LVT flooring installation a success.
Understanding LVT Flooring: What It Is and Its Benefits
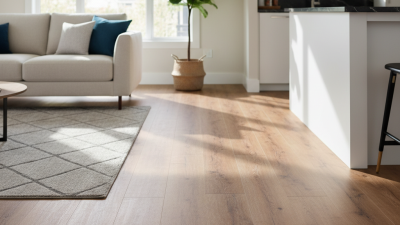
Luxury Vinyl Tile (LVT) flooring has emerged as a preferred choice among homeowners due to its exceptional durability and aesthetic appeal. LVT is crafted from multiple layers, typically consisting of a waterproof core, a design layer that mimics the appearance of natural materials, and a protective top layer that fortifies it against scratches and stains. According to the Resilient Floor Covering Institute, LVT is rapidly gaining market share, with a projected growth rate of 5-7% annually, reflecting its increasing popularity in both residential and commercial spaces.
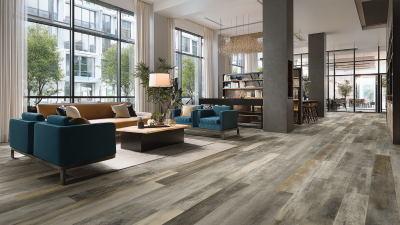
One of the most notable benefits of LVT flooring is its versatility. It comes in a wide array of designs, colors, and textures, allowing homeowners to achieve a high-end look without the associated costs of natural stone or hardwood. Additionally, LVT is known for its comfort underfoot, and its insulation properties can help maintain a stable indoor temperature. A report from the National Wood Flooring Association indicates that over 60% of homeowners prefer installing LVT due to its easier maintenance and ability to withstand harsh conditions, making it an ideal choice for busy households and high-traffic areas.
Preparing Your Space: Tools and Materials Needed for Installation
When preparing to install luxury vinyl tile (LVT) flooring, having the right tools and materials is crucial for a successful project. According to the National Wood Flooring Association, 68% of DIY homeowners report that using proper tools significantly reduces installation time and improves overall results. To get started, gather the fundamental tools: a tape measure, straight edge, utility knife, rubber mallet, and a tapping block. Additionally, a flooring spacer will help maintain consistent gaps during installation, which is vital for allowing any necessary expansion of the LVT.
In terms of materials, you will need the LVT planks or tiles, an underlayment, and a suitable adhesive if you opt for glue-down flooring. A report from the Floor Covering Industry Foundation indicates that in 2022, the LVT market reached a value of $8 billion, with anticipated growth driven by its durability and ease of maintenance. Furthermore, choosing a quality underlayment can enhance sound insulation and moisture barrier functions, which are essential for prolonging the life of your new flooring. Ensuring that you have these tools and materials ready will set the stage for a smooth installation process and a beautiful finish.
How to Install LVT Flooring: A Step-by-Step Guide for Homeowners - Preparing Your Space: Tools and Materials Needed for Installation
| Tool/Material |
Purpose |
Recommended Quantity |
| Measuring Tape |
To measure room dimensions accurately |
1 |
| Utility Knife |
To cut LVT planks to size |
1 |
| Straight Edge |
For straight cuts |
1 |
| Flooring Underlayment |
To provide cushioning and sound barrier |
As per room size |
| Flooring Adhesive |
To secure LVT planks in place |
As per area coverage |
| Spacers |
To maintain expansion gaps |
8-10 |
| Rubber Mallet |
To gently tap planks into place |
1 |
| Saw |
For precision cutting of planks |
1 |
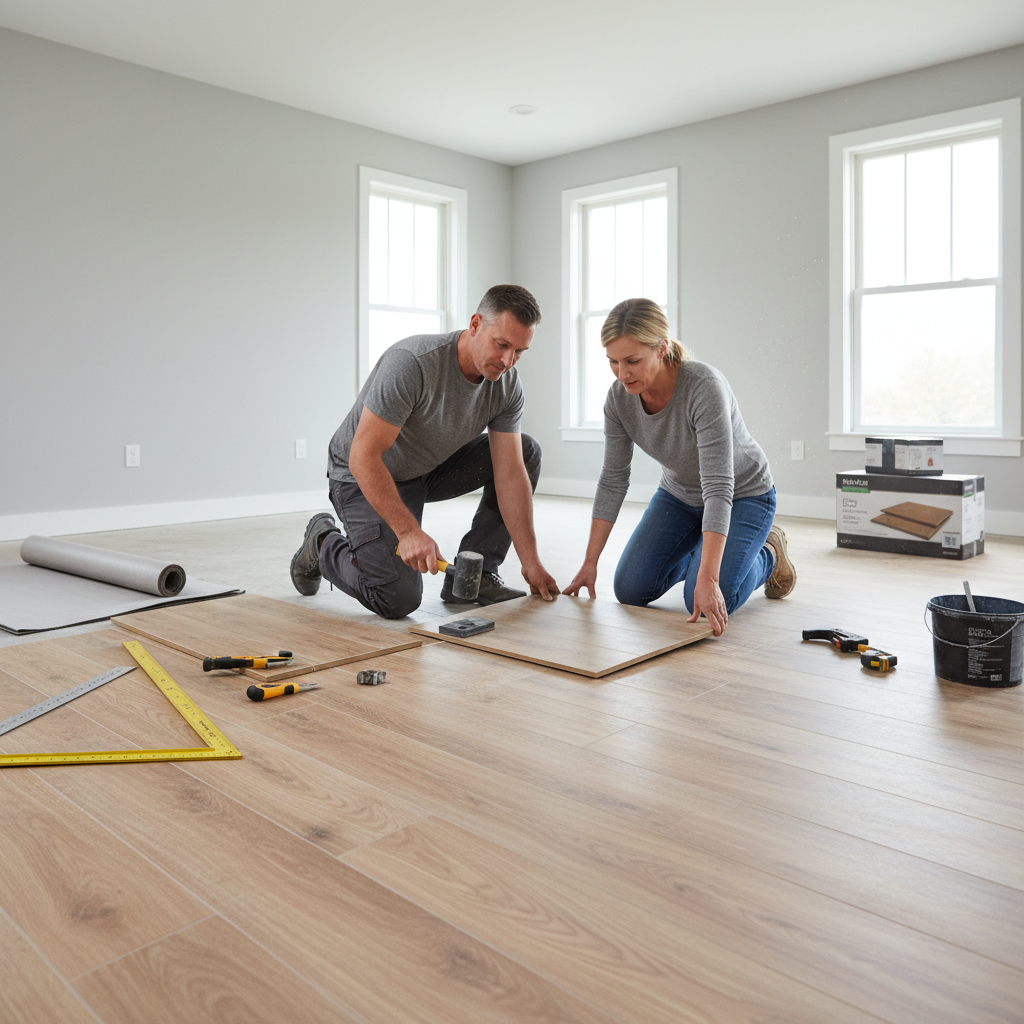
Step-by-Step Installation Process: Laying the LVT Flooring
Laying luxury vinyl tile (LVT) flooring is a practical choice for homeowners looking to enhance their interiors with both style and durability. According to the Resilient Floor Covering Institute, LVT has gained popularity due to its ability to mimic natural materials like wood and stone while providing exceptional water resistance and ease of maintenance. The step-by-step installation process begins with preparing the subfloor, ensuring it is clean, dry, and level, as this is fundamental for achieving a flawless finish.
Once the subfloor is ready, the next crucial step involves acclimating the LVT tiles by allowing them to sit in the installation room for at least 24 hours. This helps in minimizing expansion or contraction after installation. Homeowners can then proceed to lay out the tiles in their desired pattern, starting from the center of the room, which not only creates a visually appealing aesthetic but also maintains symmetry. Studies show that properly installed LVT can last upwards of 20 years, making it a long-term investment for any home. Finally, using the appropriate adhesive or opting for click-lock systems can significantly ease the installation, ensuring a professional-grade look.
Installation Time for LVT Flooring by Room Type
Finishing Touches: Trimming and Maintaining Your LVT Floor
Trimming your LVT flooring is an essential step that enhances the overall appearance and ensures a seamless fit into your living space. Start by measuring the edges of your flooring carefully, accounting for any transitions to other flooring types or walls.
Utilize quarter round or baseboard trim to cover any expansion gaps, which are necessary for allowing the LVT to expand and contract with temperature fluctuations.
Choose trim that complements the style and color of your flooring to create a polished look.
Maintaining your LVT floor is equally important for its longevity. Regular cleaning with a damp mop and a gentle, pH-neutral cleaner will help preserve the surface and keep it looking fresh. Avoid harsh chemicals, as they can damage the finish.
To protect your floor from scratches and dents, consider placing felt pads under furniture legs and using area rugs in high-traffic zones. Additionally, be mindful of moisture, as excessive water can seep into seams and compromise the floor.
With proper trimming and maintenance, your LVT flooring can continue to enhance your home for years to come.
Common Tips and Troubleshooting for LVT Flooring Installation
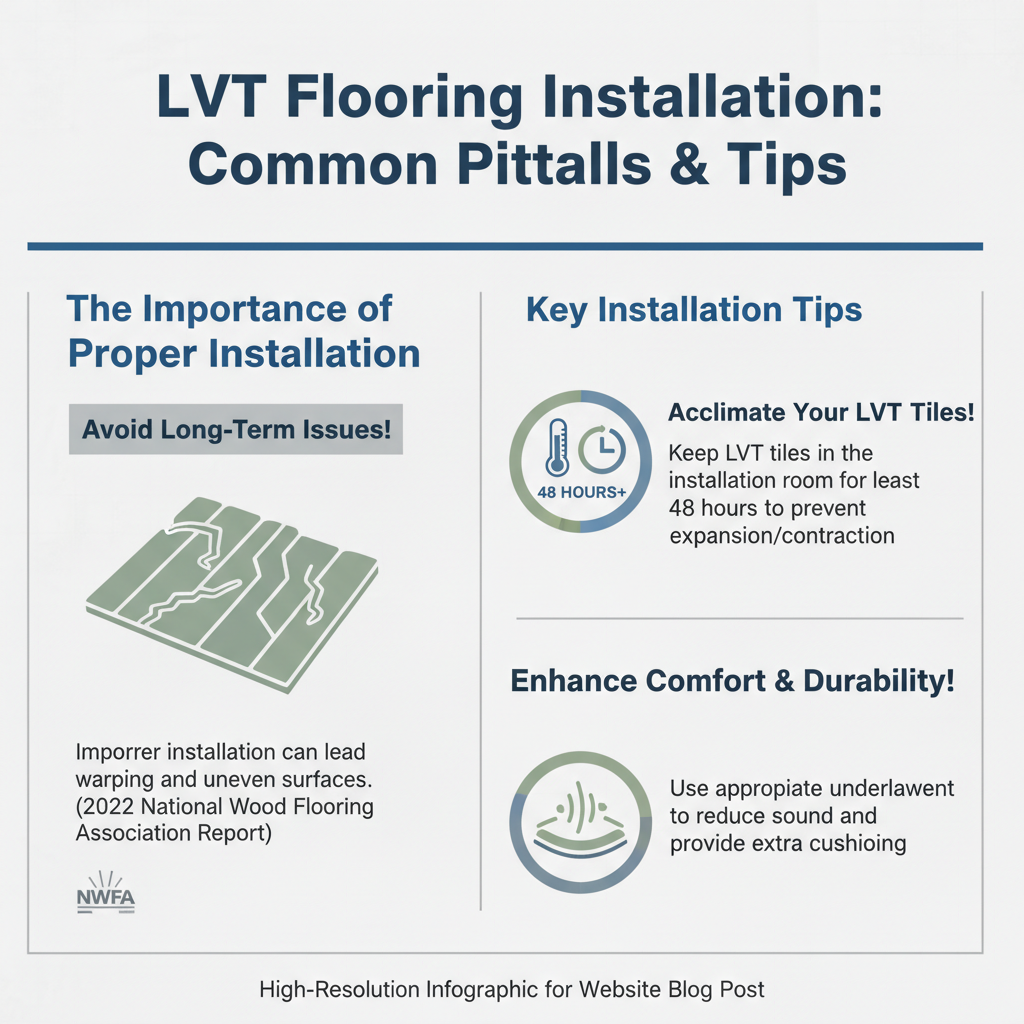
When installing Luxury Vinyl Tile (LVT) flooring, homeowners should be aware of common pitfalls and tips that can enhance their experience. According to a 2022 report by the National Wood Flooring Association, improper installation can lead to significant long-term issues, including warping and uneven surfaces.
It is essential to acclimate LVT tiles in the room where they will be installed for at least 48 hours to prevent expansion or contraction after installation. Additionally, using an appropriate underlayment can reduce sound and provide extra cushioning, which is vital for both comfort and durability.
Another critical aspect is ensuring a clean and smooth subfloor before installation. A study by Floor Covering News highlighted that nearly 30% of installation complaints stem from inadequate subfloor preparation. Homeowners should thoroughly inspect their subfloor for any moisture, debris, or unevenness, as these elements can compromise the integrity of the LVT.
Moreover, it’s advisable to follow the manufacturer’s specific installation guidelines closely, including recommended adhesive and layout patterns, to mitigate issues and promote longevity. Implementing these tips can lead to a successful LVT flooring project that not only enhances the aesthetics of a home but also stands the test of time.